Concept
Sam Esmail’s Mr. Robot is among my favourite television dramas, not only because of the excellent story and standout cinematography, but also because of the accurate portrayal of hacking and computer operation. As a person who has grown up with a keen interest in computing I’ve always felt let down by its portrayal on television, hacking is usually treated as a means to an end plot device with little care given to its execution, technical accuracy, or feasibility — two person keyboard anyone? There is none of this nonsense in Mr. Robot! The show is designed around real tools, real vulnerabilities, and has actual security consultants give input on the various hacks built around the plot. While the show is definitely written with people who are familiar with computer security in mind don’t let that drive you away from it, everything is explained in clear language and you don’t need to know anything to understand the plot. In any case, I highly recommend watching Mr. Robot once you’re done looking at my portfolio!
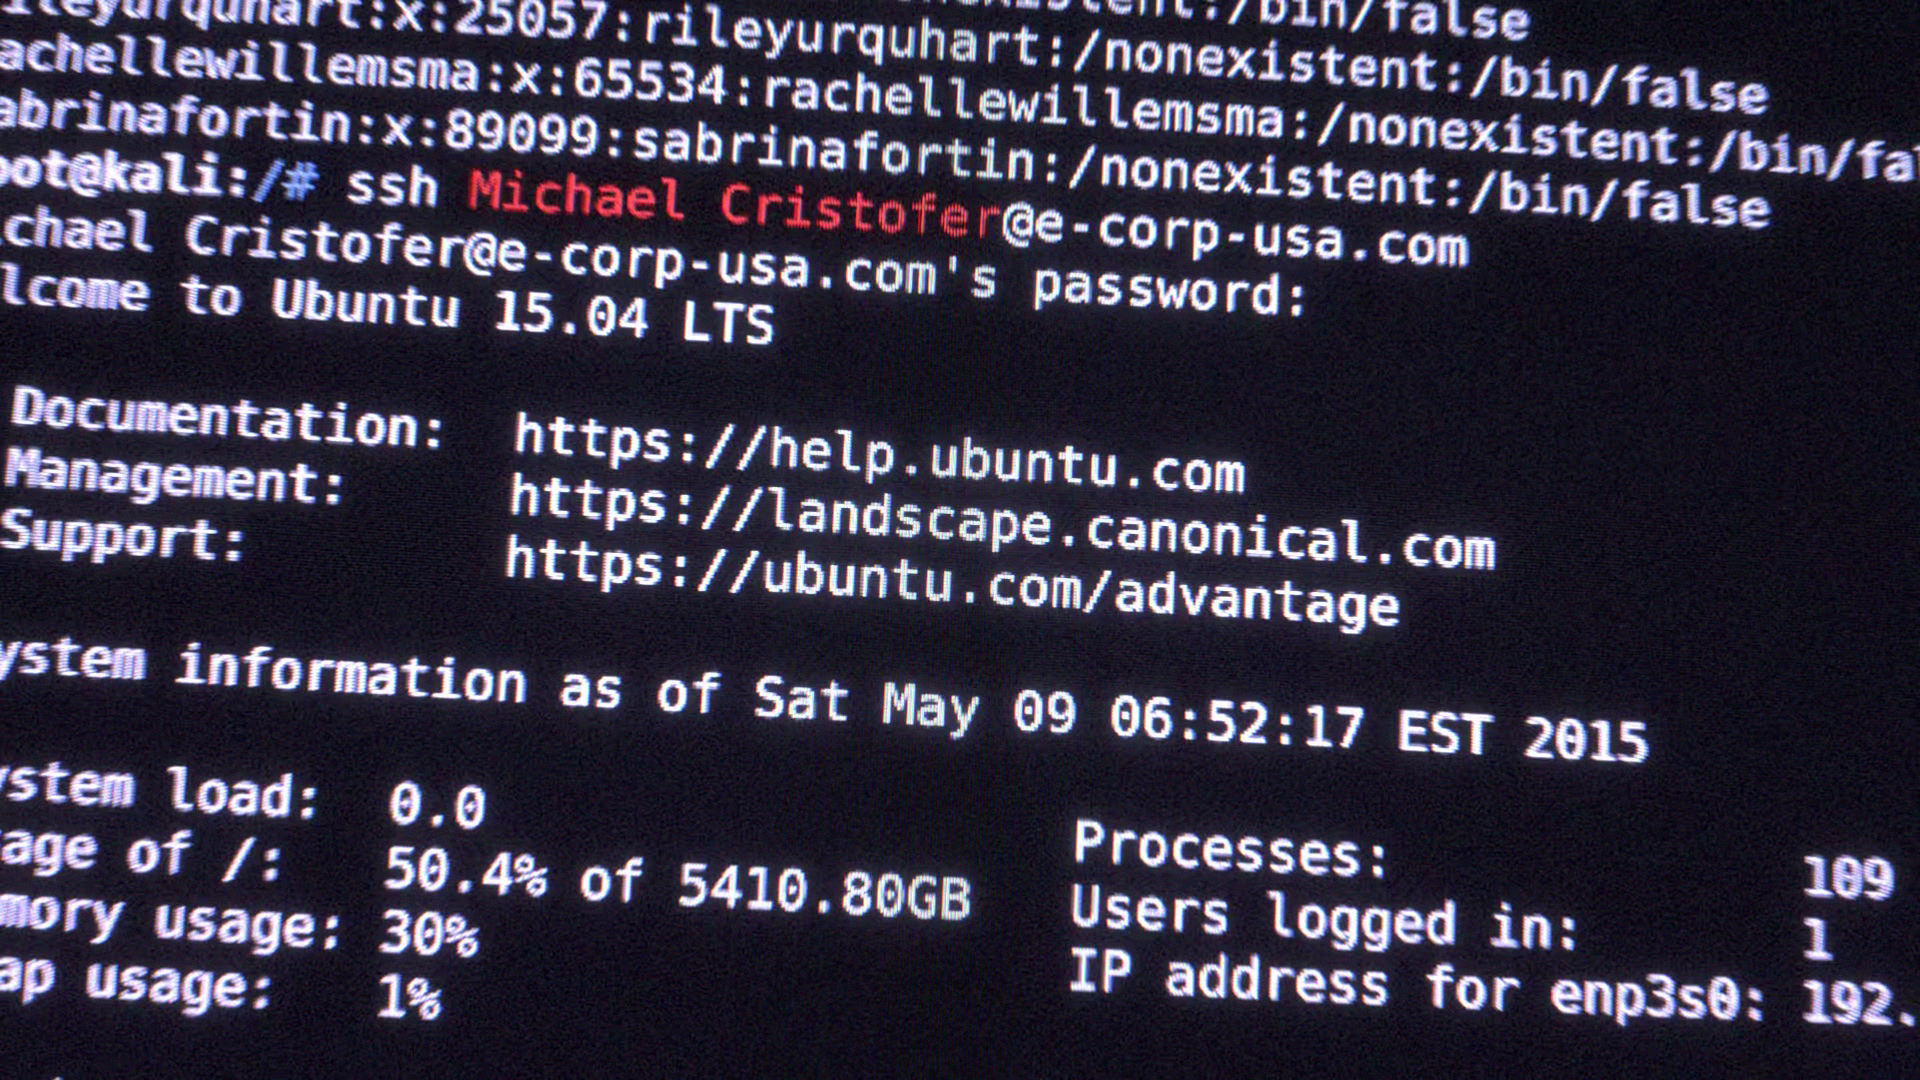
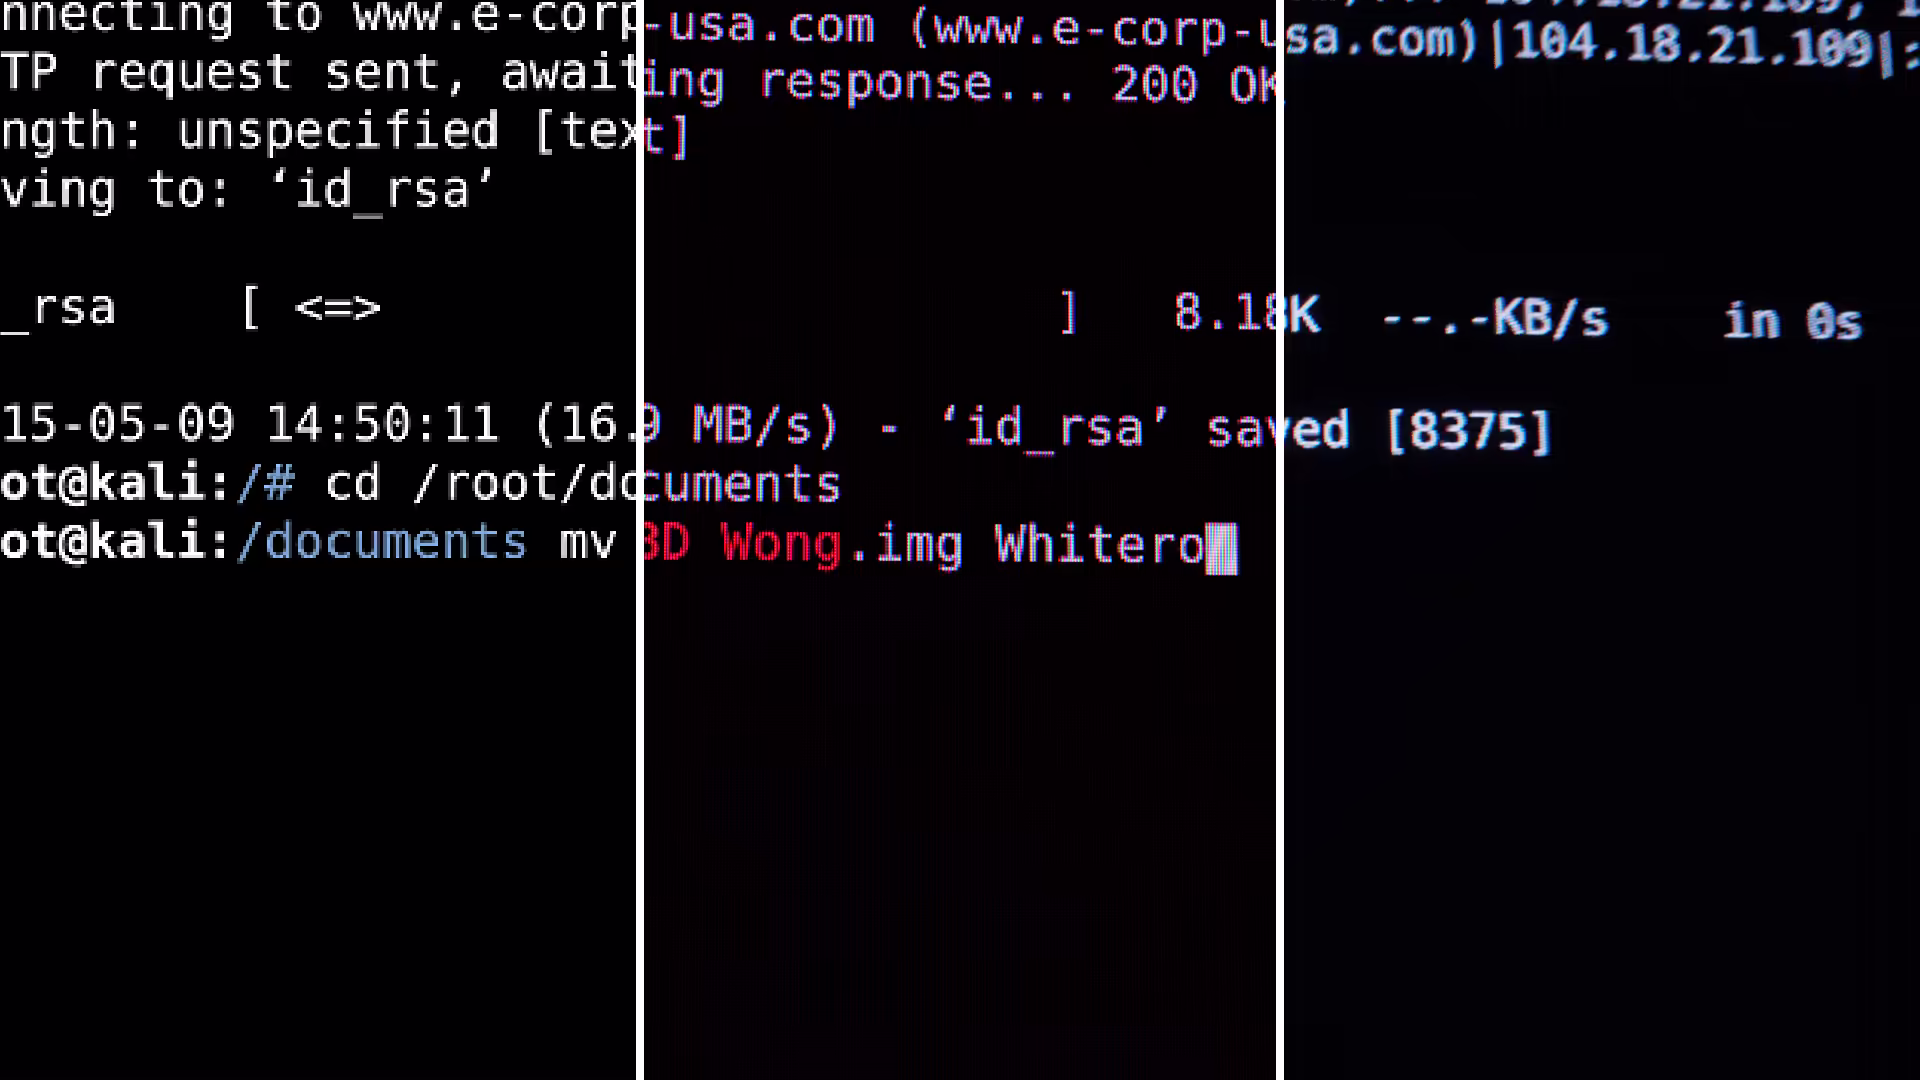
Because of Mr. Robot’s focus on accuracy I wanted to create a title sequence that mirrored the show’s ethos. The command line interface is an obvious choice for a show about hacking and Kali Linux’s terminal makes many appearances in the show alongside Linux Mint. Each shot showcases a different program running in a terminal with the actor’s name integrated somewhere that makes sense. Where possible I tried to use command line programs that related to each actor’s character and their actions in the show: Martin Wallström (Tyrell Wellick) hacks an employee’s phone early on and his title has him writing a bootable .iso to an SD card, Gloria Reuben (Krista Gordon) is having her name be made into a wordlist used to check passwords against to crack them with Crunch, Christian Slater (Mr. Robot) is wiping data with Shred.
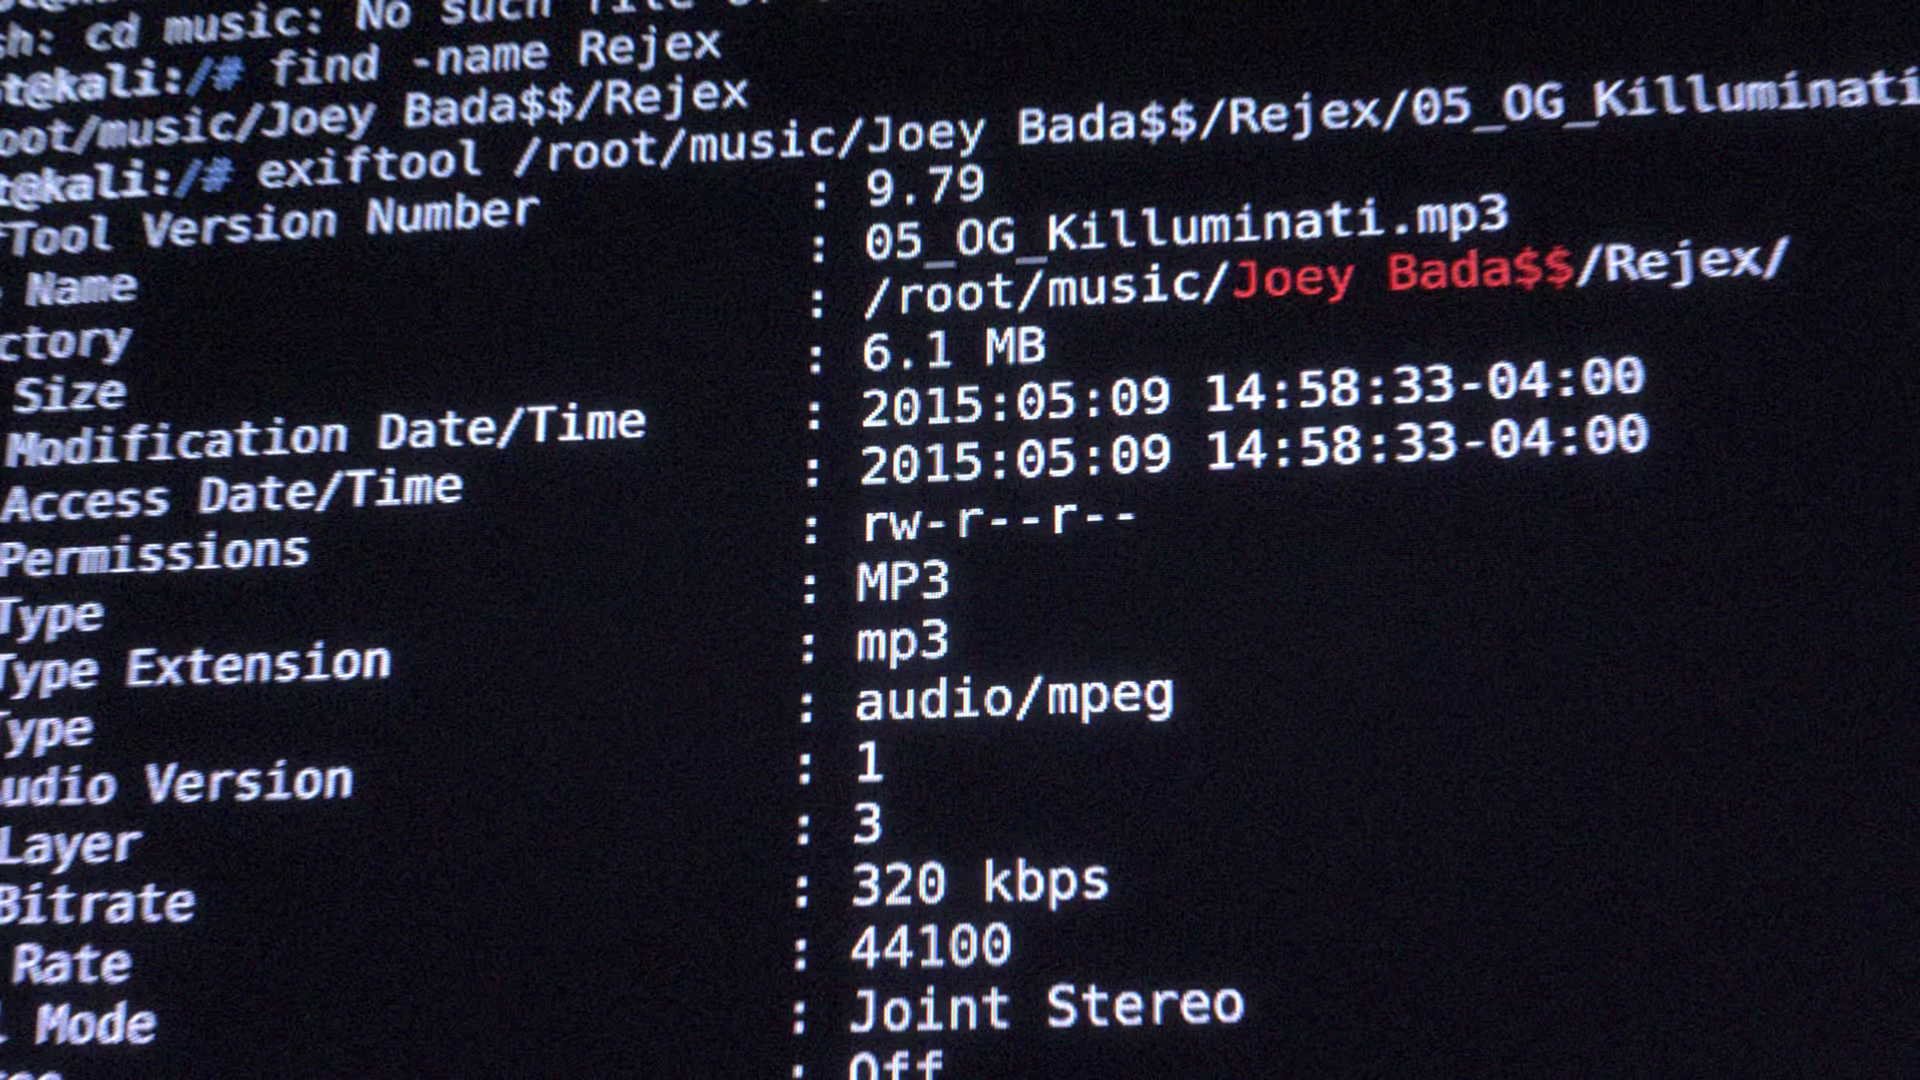
While I don’t use them in quite the same way the colours were taken directly from Kali Linux’s default terminal theme. Actor’s names are styled in red to separate their title from the rest of the text on screen. There are also a few easter-eggs hidden throughout the opening, all URLs and IP addresses are real websites set up by the production, see if you can find any!
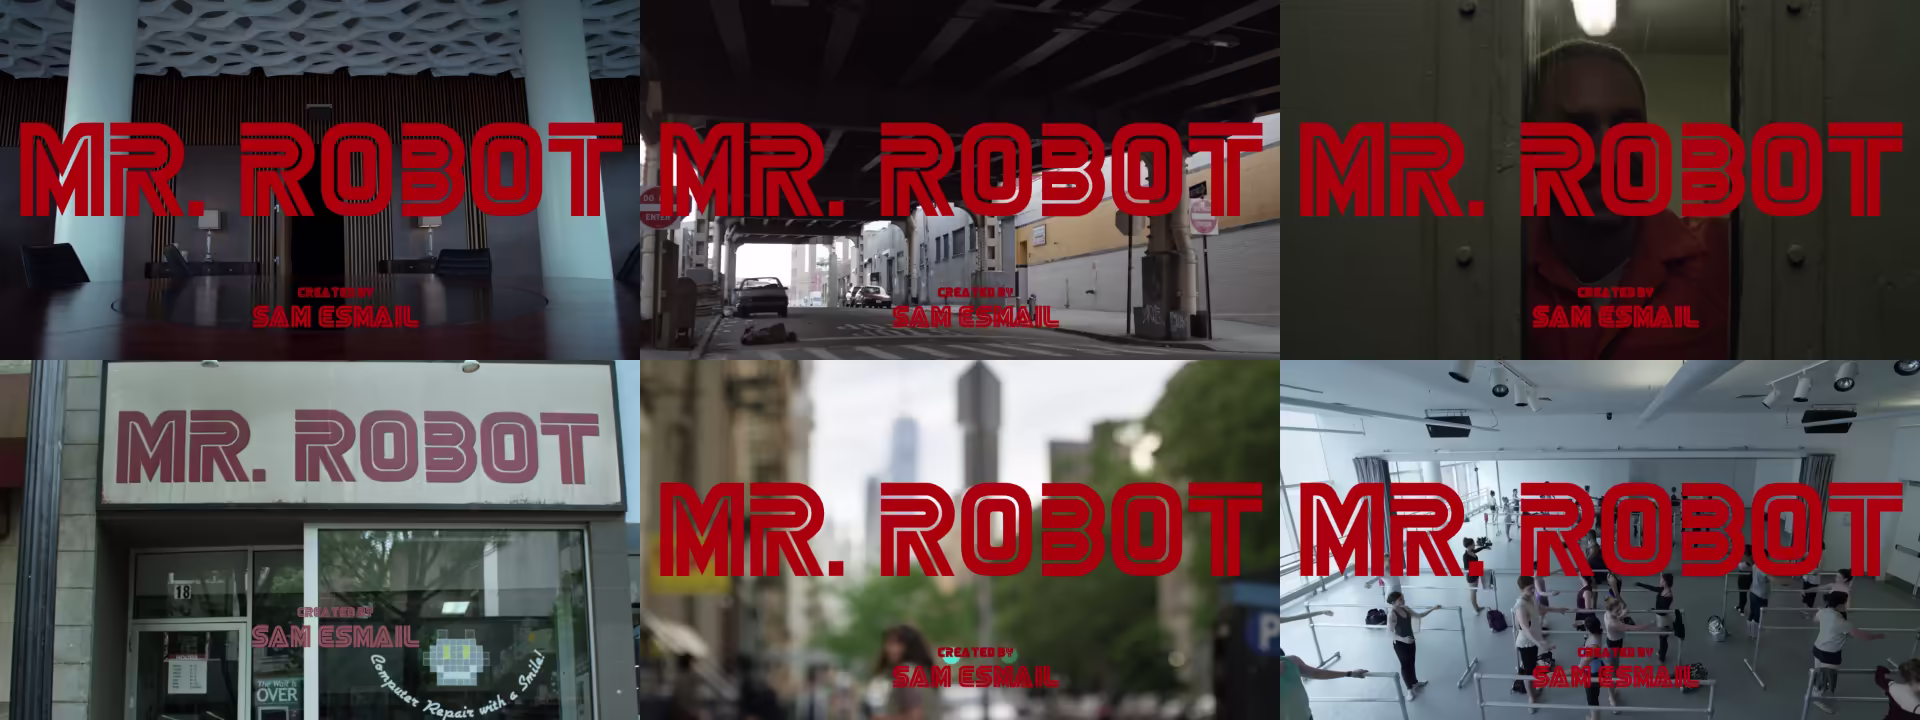
Mr. Robot doesn’t actually have a dedicated title sequence (which is partly the reason I chose it for this project) but it does have a rather distinct title card which I wanted to carry over into my sequence. The show usually keeps things pretty consistent with the title card, often using its timing for dramatic effect, but occasionally plays around with the format and type treatments to fit the episode.
Process, Pipeline, and Technical Information
This project has the most complicated pipeline I have created for myself so far and is my first experience working with OCIO and ACES. Does this project benefit from wide gamut support and the camera-matching features afforded by ACES? Probably not. Nonetheless, it was an interesting learning experience, even if everyone will only ever watch this on the web and the supposed delivery affordances of ACES aren’t really relevant here. This was also my first time editing footage in Olive, something I can’t recommend other people adopt just yet but sometimes it’s fun to be on the bleeding edge. For all the problems the program currently has (it’s in alpha!) it made colour management a breeze because of the native OCIO implementation — something that is notably missing in Premiere, my usual NLE of choice.
To begin I divided my audio track (which I also created drawing heavy inspiration from Mac Quayle’s original soundtrack) into 14 sections by bar, the same strategy I used on Sheridan Animation’s 2019 Anijam to ensure that each cut is timed to the beat. After translating the cut points from Logic Pro to Olive the real fun began!
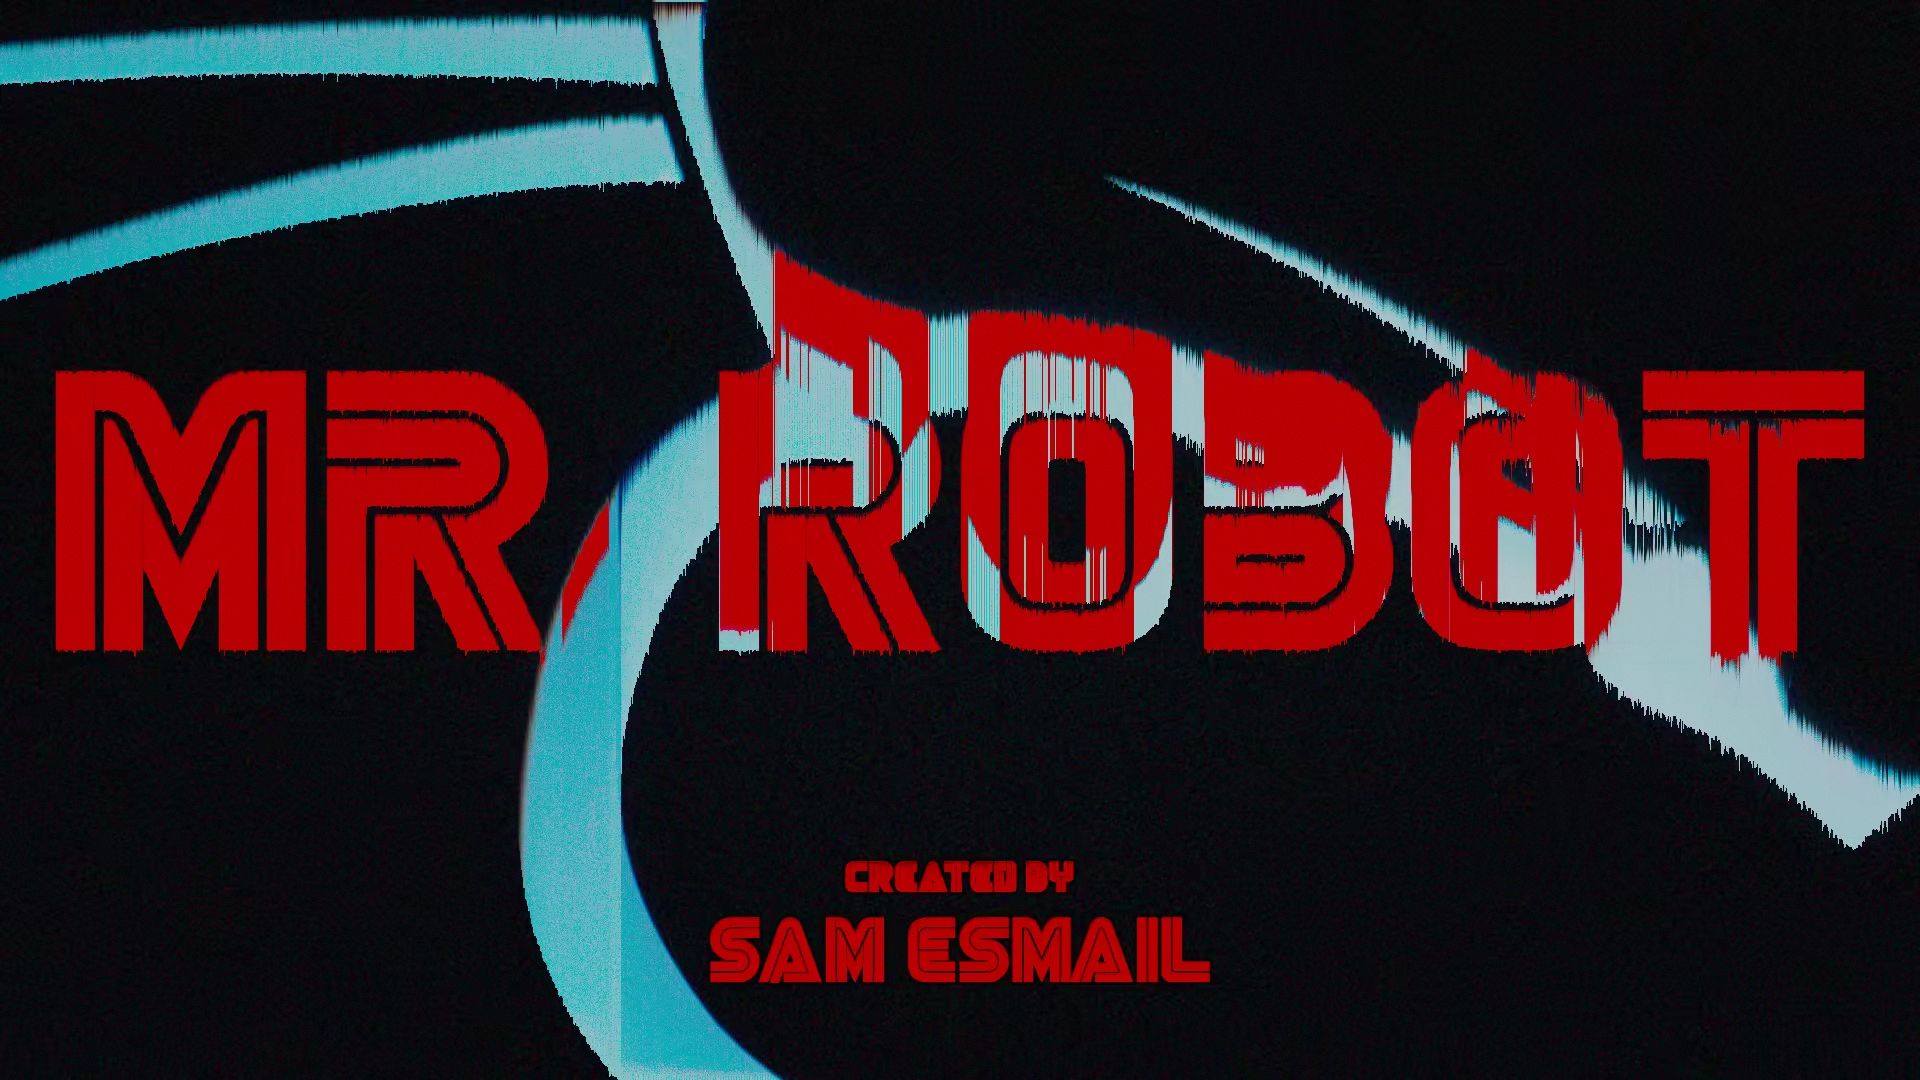
For each shot I ran a program or command either on my MacBook or in a 2015 Kali Linux virtual machine. After saving the output to a text file and editing in the actor’s names, I re-animated each sequence in After Effects and exported the sequence to Blender where the camera movement and LCD effect were created. The LCD shader maps each pixel’s RGB values to an array of virtual emissive LCD pixels in order to generate the grid pattern and colour fringing you get when shooting computer monitors up close. Each render was then run through a post-process node graph in Natron for film grain, chromatic aberration, and lens distortion, and then exported and assembled Olive. The pixel sorting effect on the end title was the single shot made with Nuke using the excellent h_pixelsort gizmo by Mads Hagbarth Damsbo.
All things considered, this was quite a time-consuming process for every shot to go through but I think it was worth it! Along with the new experience of Olive this was also my first time working on a video project in Blender and I’m really loving the workflow and tools that it has to offer, if you’re reading this and you want to get into 3D or you’re thinking of switching to Blender I highly recommend giving it a go!